Related Articles
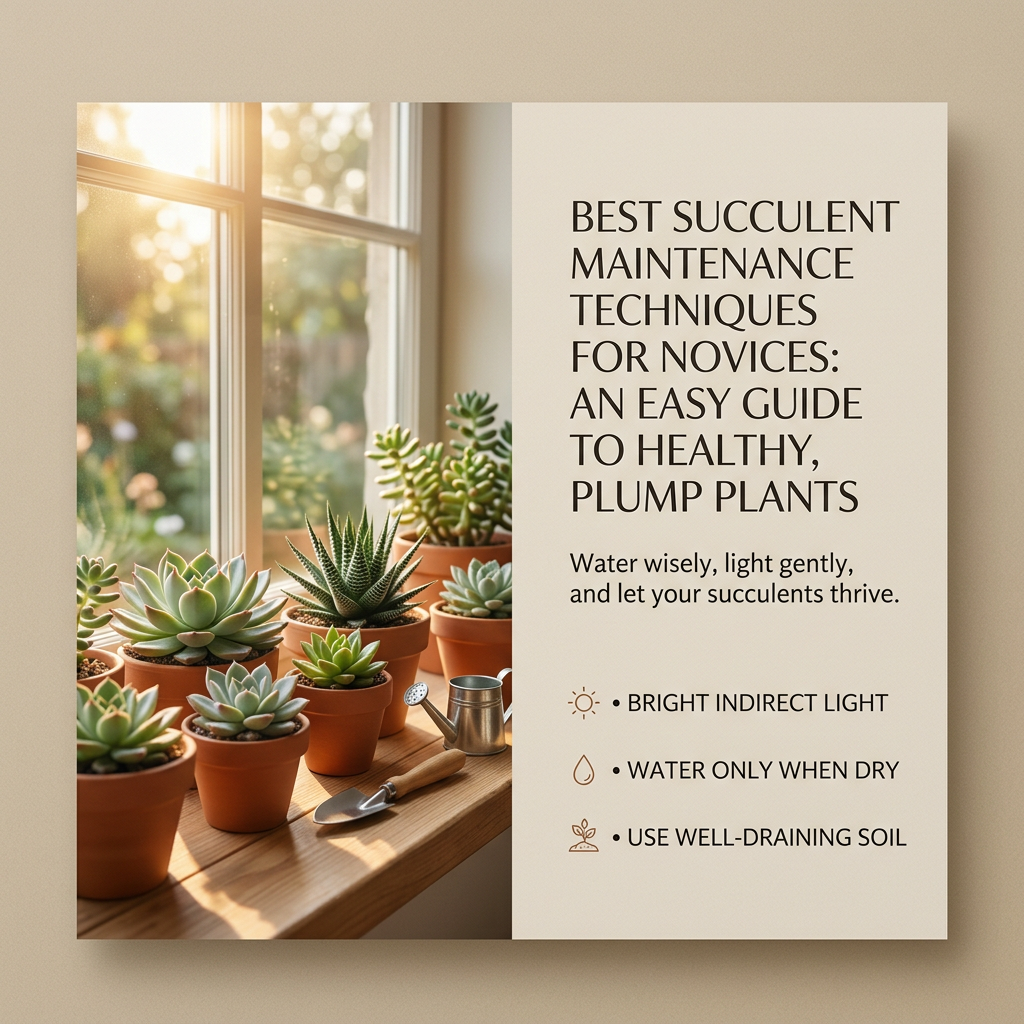
Succulents have a reputation as the perfect plants for people who say they cannot keep anything alive. Their plump leaves, sculptural shapes, and tidy size make them irresistible, and they sit happily on desks, windowsills, and kitchen counters. Yet many beginners discover that these so called easy plants can fade surprisingly fast. A rosette turns mushy, stems stretch toward the window, and leaves drop at the slightest touch.
The good news is that succulents are not difficult, only different. They come from dry, sunny regions, and they store water in their leaves and stems to survive long stretches without rain. Once you understand how that shapes their needs, improving your results becomes simple. This guide covers choosing the right varieties, giving proper light, watering correctly, using the right soil and pots, and fixing the most common problems. You do not need fancy tools or years of experience, just a little patience and a habit of paying attention.
Start with Beginner Friendly Varieties
The easiest way to improve your success is to begin with succulents that forgive mistakes. Some varieties are far more demanding than others, and picking a fussy one first can make you feel like you are failing when the plant is simply difficult.
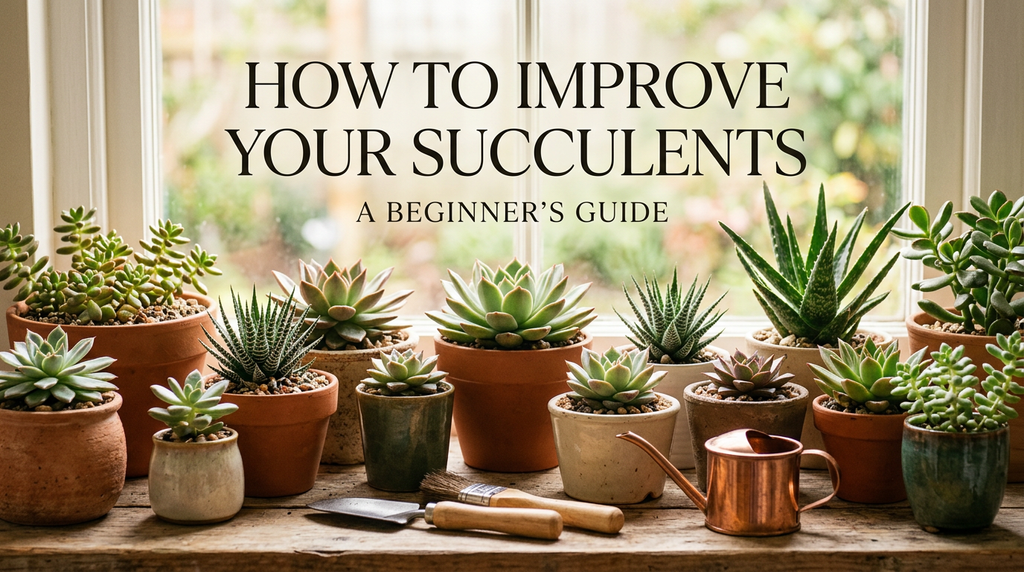
Jade plants are sturdy and long lived, with thick, glossy leaves and a tree like shape that develops over time. Aloe vera is useful as well as attractive, and it tolerates a range of conditions. Haworthia, often called zebra plant, handles lower light better than most succulents and stays compact. Echeveria forms beautiful rose shaped rosettes, though it does need bright light to keep its shape. Sedum varieties, such as burro’s tail and stonecrop, grow quickly and are very easy to propagate. Snake plants and string of pearls are also popular, though string of pearls prefers a little more care.
When buying, look closely at the plant. Choose one with firm, plump leaves, even color, and no mushy spots or tiny insects. Gently check that the plant sits securely in its soil, which suggests healthy roots. Avoid plants that look stretched, pale, or covered in sticky residue. A healthy start gives you a much better chance of long term success.
Give Them Plenty of Light
Light is the number one factor that separates thriving succulents from struggling ones. Most succulents evolved in open, sunny landscapes, so they crave bright light for several hours each day. Without it, they lose their compact shape and their color.
A south facing window is usually ideal in the northern hemisphere, while an east facing window offers gentler morning sun that suits many varieties. West facing windows can work too, but strong afternoon rays may scorch sensitive plants. If you live in the southern hemisphere, reverse these directions. Aim for at least four to six hours of bright light each day, and watch how the sun moves through your home to find the best spot.
Your succulent will tell you whether the light is right. A condition called etiolation happens when a plant stretches tall and thin, with wide gaps between leaves, as it reaches for more light. The new growth often looks pale and weak. Unfortunately, stretched growth does not return to normal, but you can fix the cause by moving the plant to a brighter spot, and you can even cut the top and propagate it to start fresh.
Too much sun is possible as well. Brown, crispy, or bleached patches on the leaves are signs of sunburn. If you are moving a plant to a sunnier spot, do it gradually over a couple of weeks so it can adjust. Rotating your pots a quarter turn every week keeps growth even and balanced. If your home is naturally dim, a full spectrum grow light placed above the plants for eight to ten hours a day can make a remarkable difference.
Water the Right Way
Overwatering is the most common reason succulents die. Because they store water in their leaves, they do not need frequent drinks, and soggy soil quickly leads to rot. The roots of succulents need air as well as moisture, and constantly wet soil cuts off that air supply.
The best approach is often described as soak and dry. When you water, do it thoroughly, pouring slowly until water runs out of the drainage holes. Then wait until the soil is completely dry before watering again. Depending on your climate, pot size, and the season, this might mean every one to three weeks. Forget fixed schedules and check the soil instead. Push a finger or a wooden skewer a couple of inches into the soil, and if it comes out dry, it is time to water.
Pay attention to the leaves, which show you how thirsty the plant is. Plump, firm leaves mean the plant is well hydrated. Wrinkled, soft, or slightly shriveled leaves suggest it needs a drink. In contrast, leaves that look swollen, translucent, yellow, or mushy usually point to too much water. Leaves that fall off at the slightest touch can signal either problem, so check the soil before you decide.
Seasons matter. Many succulents grow actively in spring and summer and rest in the cooler months, so they need much less water in winter. Some varieties, such as certain lithops and aeoniums, follow different cycles, so it helps to research each plant. Water the soil rather than the leaves, especially on rosette shapes, since water trapped in the center can cause rot. Room temperature water works best, and a bottom watering method, where the pot sits in a shallow dish for about fifteen minutes, is a gentle option for small plants.
Choose the Right Soil
Regular potting soil holds too much moisture for succulents, which is why many beginners run into trouble even when they water carefully. These plants need a fast draining mix that dries out quickly and lets air reach the roots.
You can buy a ready made cactus and succulent mix, which is the easiest option for beginners. To improve it further, mix in extra drainage material. Perlite, pumice, and coarse sand all help water flow through quickly. A popular homemade recipe combines roughly equal parts regular potting soil, coarse sand, and perlite or pumice, though you can adjust the ratio depending on how dry or humid your home is. If your space is humid, add more grit. If it is very dry, you can add a little more potting soil.
When you squeeze a handful of mix, it should fall apart easily rather than clump into a wet ball. A top layer of small gravel or fine grit can also keep leaves from touching damp soil and gives the pot a clean, finished look. Avoid garden soil and heavy clay, since they pack down and suffocate roots.
Pick Pots with Good Drainage
The right container is just as important as the right soil. Always choose a pot with at least one drainage hole, because trapped water at the bottom of a pot is a fast route to root rot. Terracotta is a favorite among succulent growers, since the porous clay absorbs excess moisture and lets soil dry faster. Plastic and glazed ceramic pots work too, but they hold water longer, so you need to water more carefully.
Size matters. Succulents have small, shallow root systems, so a pot only slightly larger than the plant is best. A container that is too big holds extra soil that stays wet for too long. If you love decorative pots without holes, keep your plant in a plain nursery pot and place it inside the decorative one, taking it out to water and drain before returning it.
Think About Temperature and Airflow
Most succulents enjoy the same temperatures people do, usually between 65 and 80 degrees Fahrenheit, which is roughly 18 to 27 degrees Celsius. They can handle warmer weather, but very high heat behind glass can scorch them. Many varieties are not frost tolerant, so keep them away from cold windows and freezing drafts in winter.
Good airflow helps prevent fungal problems and pests, so avoid cramming plants tightly together. Most succulents prefer dry air, which is one area where they are easier than tropical houseplants. You do not need misting or humidifiers, and in fact extra moisture in the air can encourage rot and mold. A gentle fan or an open window on mild days keeps the air fresh.
Feed Them Lightly
Succulents are not heavy feeders, because they come from poor, rocky soils. A light feeding during the growing season is plenty. Use a balanced liquid fertilizer made for cacti and succulents, or dilute a regular houseplant fertilizer to half strength. Feeding once a month in spring and summer is usually enough, and you can skip feeding altogether in winter when growth slows.
More is not better. Too much fertilizer can cause weak, leggy growth and may burn the roots. Never feed a plant that is stressed, newly repotted, or sitting in dry soil, since it cannot process the nutrients properly.
Repot When the Time Is Right
Succulents generally do not need frequent repotting, but they benefit from fresh soil every couple of years. Signs that it is time include roots coming out of the drainage holes, a plant that tips over because it has outgrown its container, or soil that no longer drains well. Spring is the best time, as the plant is entering its growth period.
Before repotting, let the soil dry out completely. Gently remove the plant, shake off the old soil, and inspect the roots. Trim any black, mushy, or shriveled roots with clean scissors. Place the plant in a slightly larger pot with fresh succulent mix, and then wait about a week before watering. This pause allows any damaged roots to heal and lowers the risk of rot.
Propagate for Free Plants
One of the joys of succulents is how easily many of them multiply. Leaf propagation works well for echeveria, jade, and sedum. Gently twist a healthy leaf from the stem, making sure the whole leaf comes off cleanly. Let it dry for a few days until the end forms a callus, then lay it on top of dry succulent soil in bright, indirect light. Mist lightly every few days once tiny roots and baby rosettes start to appear.
Stem cuttings are even faster. Cut a healthy section, let the cut end callus for several days, and then plant it in dry soil. Offsets, often called pups, can be gently separated from the mother plant and potted on their own. Propagation also gives you a way to rescue a stretched or damaged plant, and the results make wonderful gifts.
Watch for Pests and Common Problems
Succulents are fairly resistant to pests, but a few troublemakers appear now and then. Mealybugs look like small bits of white cotton tucked into crevices. Fungus gnats hover around soil that stays too wet. Spider mites and aphids sometimes show up on stressed plants. If you spot mealybugs, dab them with a cotton swab dipped in rubbing alcohol. For larger infestations, use insecticidal soap or neem oil according to the product directions, and isolate the affected plant so the problem does not spread.
Most issues, however, come from care rather than bugs. Mushy, blackened stems signal rot, usually from overwatering. If the rot is limited, cut away the damaged parts, let the plant dry, and replant the healthy section in fresh soil. Pale, stretched growth points to low light. Dry, crispy lower leaves are normal as the plant grows, so simply remove them. Change one thing at a time and give the plant a few weeks to respond, otherwise it is hard to know what actually helped.
Build Simple Habits That Last
The most successful succulent growers are not necessarily the most experienced. They are the most observant. Pick one day each week to look at your plants closely, checking the leaves, the soil, and the overall shape. Small changes are much easier to fix when you catch them early.
Be patient with new plants, since they need a few weeks to adjust to a new home. Resist the urge to move them around constantly or water them out of worry. Keep a simple note on your phone with watering dates and any changes you make, and take occasional photos to track progress. Most importantly, forgive yourself for losing a plant now and then. Every grower has done it, and each loss teaches you something about light, water, or timing.
Final Thoughts
Improving your succulents as a beginner comes down to a few dependable habits. Choose forgiving varieties, give them bright light, water deeply but only when the soil is fully dry, use a fast draining mix in pots with drainage holes, feed lightly in the growing season, and keep an eye out for early warning signs. These small, steady actions turn a struggling plant into a compact, colorful, healthy one.
Plant care is a skill that grows with practice, not a talent you either have or lack. Start with a few easy varieties, learn how they respond to your space, and enjoy watching them change over time. Before long, you will have a thriving little collection and the confidence to add more.