Related Articles
It’s simple to bring a plant home. Most novices struggle with keeping it alive and seeing it flourish. You are not alone, and you are definitely not cursed with a brown thumb, if you have ever seen a leaf turn yellow a week after purchasing a stunning fern. There are only a few fundamental requirements for indoor plants, and once you know what they need, taking care of them can be surprisingly soothing.
This tutorial takes you through the doable actions that have the most impact. You will learn how to select the appropriate plants, read your home’s lighting, water confidently, choose the proper soil and pots, control humidity, feed your plants, and identify issues early. Nothing here requires specialised training or pricey equipment. All you need is a little perseverance and a readiness to watch your plants like an attentive friend.
Start with Error-Forgiving Plants
Starting with the proper plants is the best method to improve the outcomes of your indoor plants. When delicate, fussy types appear beautiful in pictures, many novices fall in love with them. However, when those plants deteriorate, they become disheartened. Rather, pick species that can withstand some neglect while you gain knowledge.
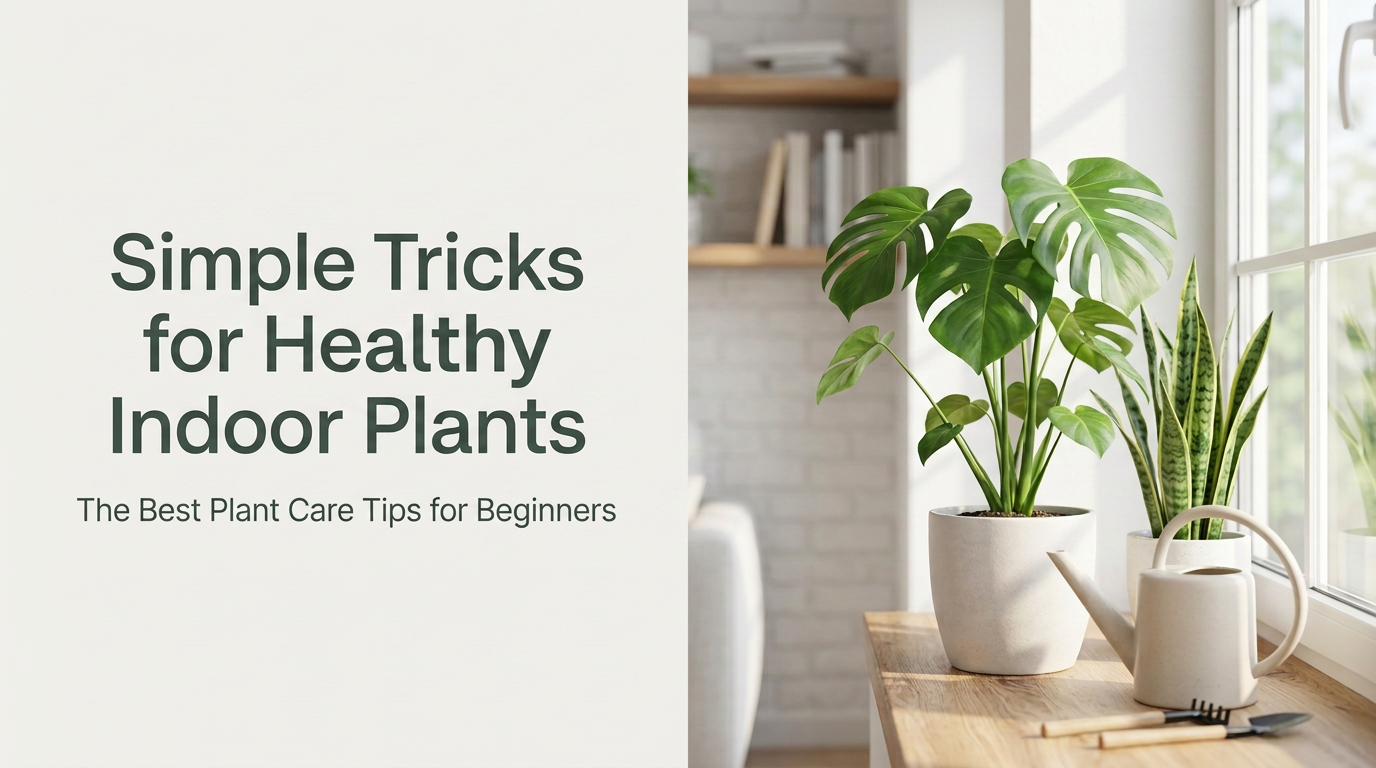
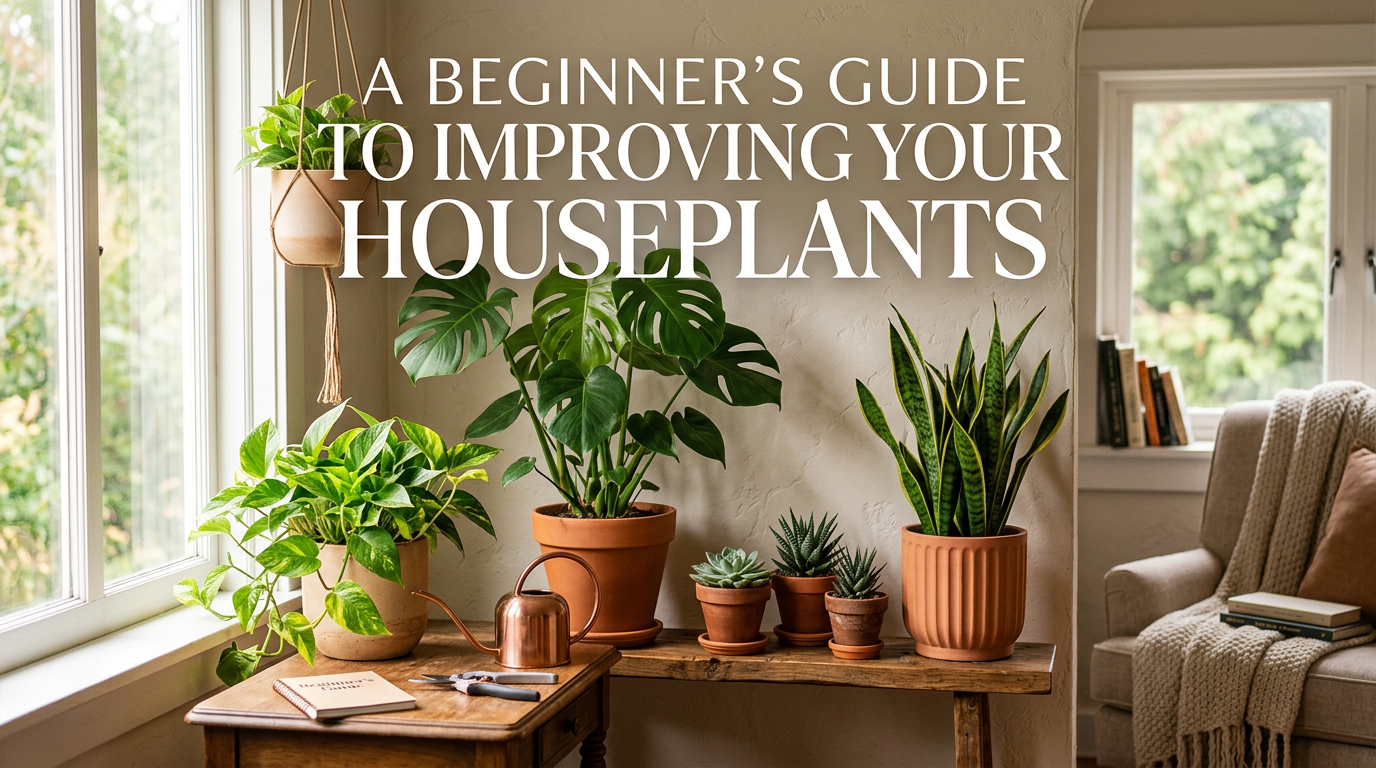
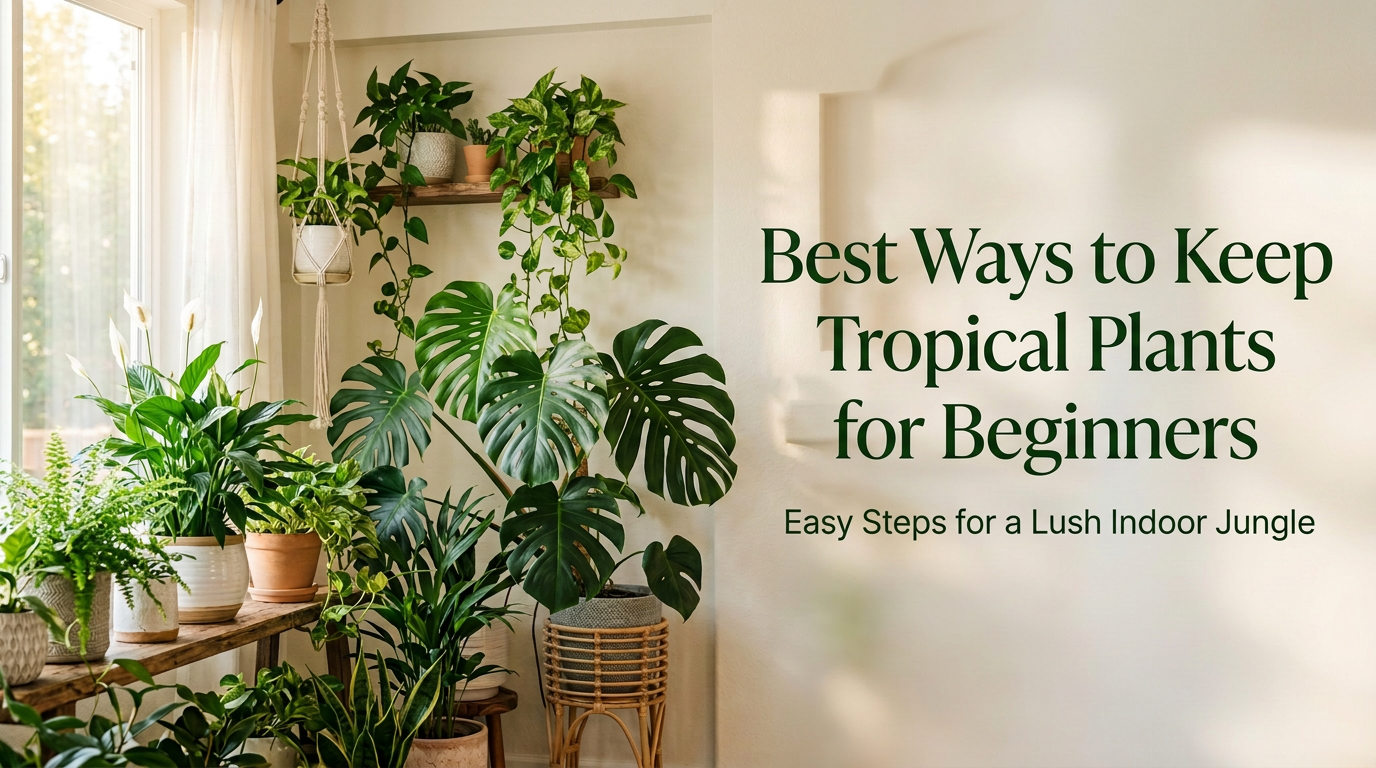
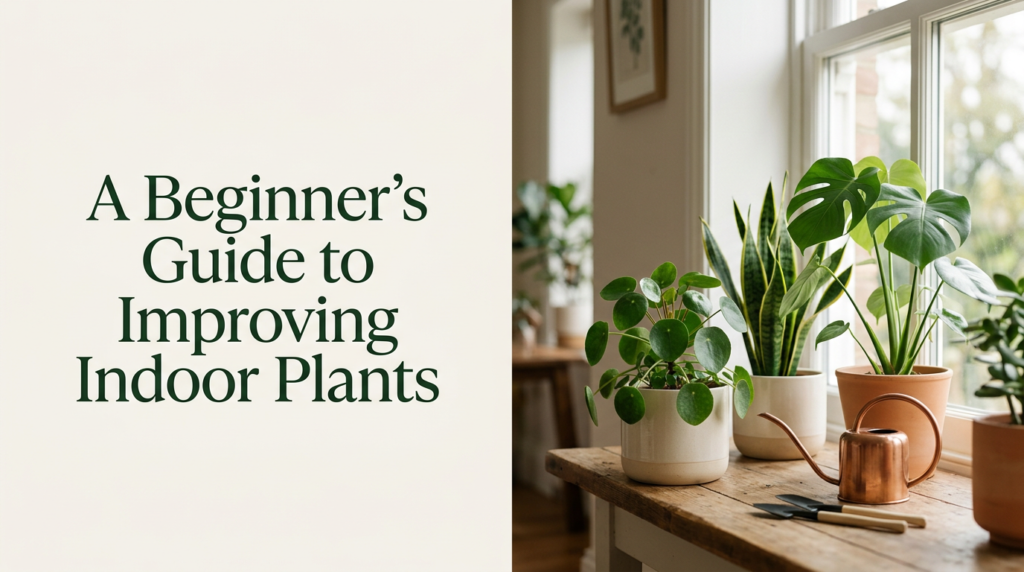
A traditional beginning plant is pothos. It trails attractively from a shelf or hanging basket, flourishes in a variety of light settings, and recovers from missed waterings. Another great option is snake plants. Their sword-shaped, erect leaves don’t mind sporadic watering or dim areas. ZZ plants can withstand being neglected for a few weeks because they store water in strong subterranean structures. Rubber plants, peace lilies, and spider plants all thrive in typical residential environments and provide you with rapid, noticeable growth.
Examine the plant at the store before making a purchase. Look for healthy new growth, sturdy, green leaves, and non-sour-smelling soil. Look for little insects or sticky residue on the undersides of leaves. Many headaches later on can be avoided by starting with a healthy plant. Reading the plant tag or asking the staff about its water and light requirements is also beneficial, as this knowledge influences all subsequent actions.
Get the Light Correct
The most common aspect that novices misunderstand is light, which is the engine of plant development. Too little light causes slow, stretched, pale development, while too much direct sun can burn the leaves. Plants utilise light for photosynthesis, which produces food.
Examine your house first. In the northern hemisphere, south-facing windows typically produce the brightest light, while east-facing windows offer soft morning light, west-facing windows deliver powerful afternoon rays, and north-facing windows are the darkest. The instructions are reversed if you are in the southern hemisphere. To determine precisely where your bright spots are, spend a day observing how sunshine passes through each area.
In general, plants can be divided into three categories. Snake plants and ZZ plants are examples of low light plants that can survive a few feet from a window. Pothos and philodendrons are examples of medium-light plants that like bright spaces free of intense sunlight. Many herbs, succulents, and cacti are examples of high-light plants that require several hours of direct sunlight near a window.
If there is a problem with the light, your plant will alert you. It is striving for more light because of its long, lanky stalks and large spaces between leaves. Overexposure to sunlight is indicated by brown, crispy spots or bleached leaves. To ensure that all sides of your pots receive the same amount of light, rotate them a quarter turn every week or two. Modern bulbs are inexpensive and simple to install, and a basic full spectrum grow light on a timer can make a significant impact if your home is typically dark.
Learn to Water
The most common cause of indoor plant death is overwatering. Giving water seems like a good deed, yet roots require oxygen just as much as wetness, so it appears paradoxical. Roots decay and the plant is unable to absorb nutrients when the soil is damp.
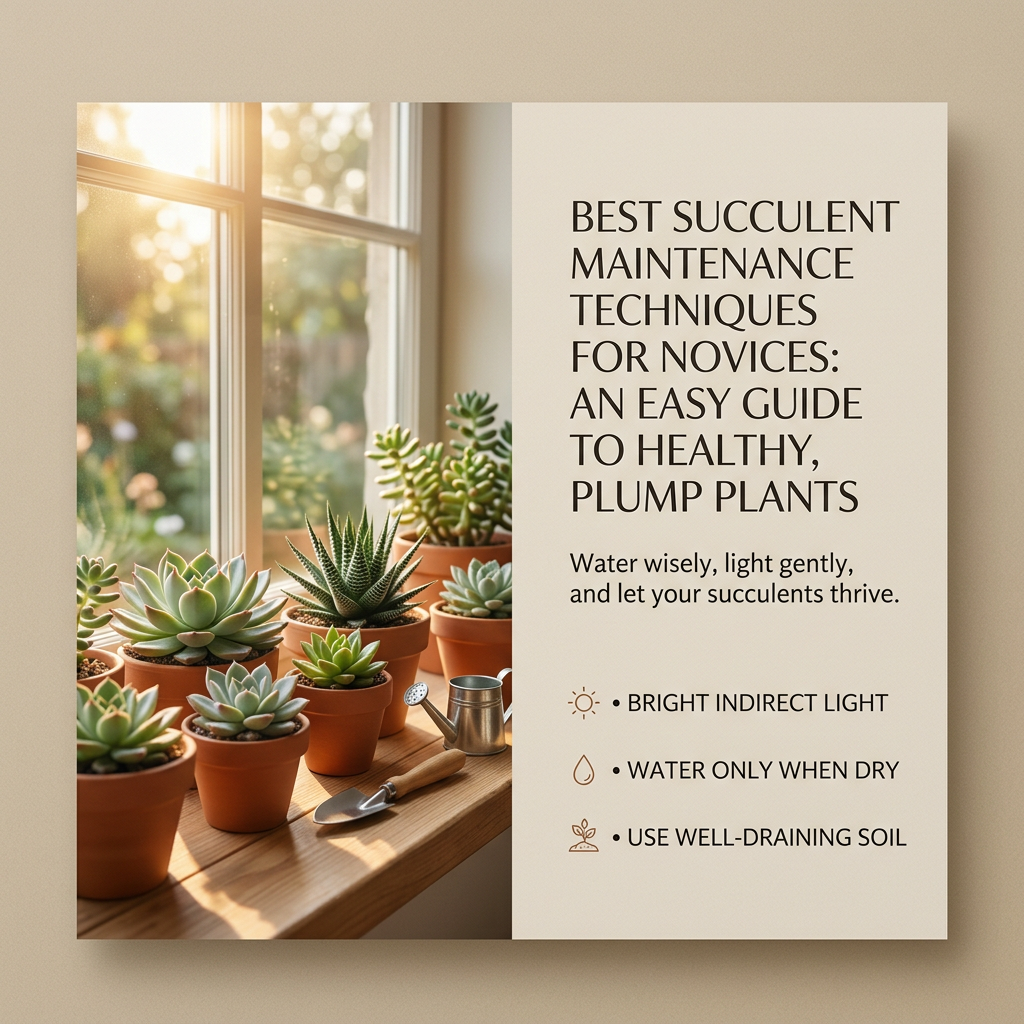
Put an end to strict timetables, such as watering every Sunday. Calendars are not read by plants. The season, light, pot size, and temperature all affect their requirements. Check the soil instead. Insert your finger into the ground about an inch or two. If it seems dry, give it plenty of water. Wait a couple more days if it still seems moist. Allow the soil to dry out nearly entirely in between waterings for cacti and succulents. Aim for soil that is somewhat damp but never swampy for tropical plants like calatheas and ferns.
Water should be done correctly. In order to prevent the plant from resting in a puddle, empty the saucer after about fifteen minutes after slowly pouring water out of the drainage holes. While small daily sips keep roots weak and shallow, deep, infrequent watering promotes strong roots.
Recognise the symptoms. Overwatering is typically indicated by yellowing lower leaves, mushy stems, and a musty odour. Too little is indicated by drooping, crunchy, dry leaf edges, and dirt that pulls away from the pot. Water at room temperature is ideal because really cold water might shock the roots. Sensitive plants like peace lilies can benefit from using filtered water or leaving heavily treated tap water outside overnight.
Select the Correct Pot and Good Soil
There is more to soil than just dirt. It provides roots with the air they require, stores water, and transports nutrients. Always use a high-quality potting mix designed for indoor plants because garden soil is too heavy for pots. Select a gritty mix with additional sand or perlite for plants that like dry environments, such succulents and cacti. A regular potting mix mixed with a small amount of bark or perlite keeps things light and airy for tropical plants.
Soil and drainage are equally important. Choose pots with holes at the bottom at all times. Double potting is the practice of keeping your plant in a plain plastic nursery pot and slipping it inside the ornamental one if you adore a fancy container without holes. Just don’t forget to take it off when you water to allow extra water to drain away.
Size is also important. An excessively large pot increases the risk of rot because it retains excess moisture that the roots cannot utilise. Select a pot that is just a couple of inches broader than the existing root ball. Repotting is necessary for most plants every year or two. Roots protruding from drainage holes, water passing through without soaking in, or development that has stalled despite favourable conditions are all indicators that it is time. Since the plant is starting to grow actively, spring is typically the optimum time to repot. After gently handling and slightly loosening the roots, give them plenty of water.
Control Temperature and Humidity
Since the majority of common houseplants are native to tropical climates, they require a steady, cosy temperature. The ideal temperature range is 65 to 80 degrees Fahrenheit, or around 18 to 27 degrees Celsius. Plants are easily stressed by abrupt temperature changes, so keep them away from heaters, air conditioners, and cold breezes.
Another silent factor is humidity. Plants like calatheas, ferns, and prayer plants can develop brown leaf tips due to dry indoor air, particularly in the winter. Because plants release moisture through their leaves, clustering them together can increase humidity. A tray with water and pebbles underneath the pot can provide a slight boost, and a tiny humidifier works wonders. If there is enough light, bathrooms and kitchens are ideal for moisture-loving plants because they frequently have higher natural humidity. Although misting is common, its effects are short-lived, so consider it a bonus rather than a cure.
Give Your Plants the Correct Food
Because the minerals in potting soil progressively run out, plants in pots are totally dependent on you for nutrition. Usually, a balanced liquid fertiliser designed for indoor plants is sufficient. When plants are actively growing in the spring and summer, feed them roughly once a month or as directed by the label. Growth decreases in the autumn and winter, so cut back on or cease feeding.
Here, little really is more. An excessive amount of fertiliser can scorch roots and produce white, crusty deposits on the soil’s surface. Fertiliser should be diluted to half strength when in doubt. Stressed, recently repotted, or extremely dry plants should never be fed since their roots are not prepared to absorb additional nutrients. Because it feeds gradually over several months, a slow release fertiliser is a practical choice for time-pressed novices.
Clean, trim, and groom
Dust accumulates on leaves more quickly than you may imagine, and a dirty leaf is unable to effectively absorb light. Every few weeks, carefully wipe the leaves with a gentle, moist cloth. Rinse little plants with lukewarm water in the shower or washbasin. This easy practice helps you identify pests early on and gives plants a shiny, healthy appearance.
Another method to make your plants better is to prune them. To help the plant focus its energy on healthy growth, cut off any yellow, brown, or damaged leaves with clean scissors. To promote fuller, bushier shapes, pinch down the tops of lanky plants like pothos. A glass of water can root a lot of cuttings, giving you free new plants to keep or give to friends. One of the best parts of indoor gardening is seeing small white roots emerge in a jar.
Handle Common Issues and Pests
Pests can occasionally be drawn to even well-maintained plants. Aphids, mealybugs, spider mites, and fungus gnats are common offenders. Letting the top layer dry out usually resolves the issue since fungus gnats are tiny insects that hover about soil that is kept too wet. Spider mites prefer dry air and leave behind fine webbing and mottled leaves. Mealybugs like little pieces of white cotton that are tucked into the joints of leaves.
Take immediate action. To stop pests from spreading, isolate the afflicted plant. Use a cotton swab dipped in rubbing alcohol to remove any visible insects, or mist the plant with a mixture of neem oil and insecticidal soap as directed by the manufacturer. Because eggs hatch in cycles, repeat treatments every week for a few weeks. You can identify problems before they become more serious by routinely inspecting your plants, particularly the undersides of the leaves.
Not all issues are pests. Low light, overwatering, or ageing naturally can all cause yellow leaves. Brown tips frequently indicate mineral accumulation or dry air. It’s typical to grow slowly in the winter. You won’t know what really helped if you don’t make small changes and give the plant a few weeks to react.
Create Easy Habits That Last
The most proficient plant owners are not always the most prosperous. They are the most reliable. Every week, pick a day to go around and inspect each plant. Take note of any changes by feeling the soil and examining the leaves. An hour of panic rescue later is outweighed by a few minutes of focus.
When you water, feed, or repot each plant, write a brief note on your phone. To track your progress over time, take occasional pictures. New plants require a few weeks to acclimatise to their new surroundings, therefore it’s natural for them to drop a few leaves during this time. Avoid the temptation to move things around all the time. Allow a plant to remain in its ideal location once it has established itself.
Lastly, extend forgiveness to yourself. Every parent of a plant has lost a plant. Every loss imparts a valuable lesson about timing, water, or light. As your confidence increases, start small with two or three simple plants, become familiar with their cycles, and extend your collection.
Concluding Remarks
As a beginner, improving your indoor plants boils down to a few consistent practices. Select tolerant plants, provide adequate light, water only when the soil requests it, use well-drained soil and pots, maintain a comfortable humidity level, feed sparingly during the growing season, and check in frequently. Your home will feel calmer and more alive because to the rich, colourful foliage created by these little, consistent efforts.
Keep in mind that taking care of plants is a skill rather than a talent. You will get more adept at determining what your plants require with every week of observation. Use these suggestions, start with one plant, and have fun. Your house will soon be full of wholesome green friends.