Related Articles
Not every house has large, bright windows. Perhaps your favourite nook is far from any natural light, your office has a tiny window, or your flat faces a brick wall. Fortunately, a dark space doesn’t have to remain dull and lifeless. Many plants have evolved to thrive in the shadowed floors of forests, and they can thrive in conditions where most other plants would perish. Low light plants, however, are frequently misinterpreted. A few clever practices can transform a struggling plant into a lush and vigorous one; they are tolerant, not miraculous.
This manual is intended for novices seeking sincere, useful guidance. You’ll discover what low light actually means, which plants thrive in it, where to put them, how to properly water and feed them, and how to deal with typical issues. These techniques can help you achieve better outcomes with less stress, whether you have a single plant or want to create a tiny indoor jungle.
The True Significance of Low Light
One of the most perplexing words in the field of plants is “low light.” Many novices believe it implies that a plant can survive in a bathroom without windows or a dark wardrobe. Since light is the energy supply that drives photosynthesis, no plant can actually develop without it. A room with a north-facing window, a location a few feet away from a bright window, or a corner outside that is shaded by a structure or tree are examples of areas that receive minimal direct sunlight but yet have some natural brightness.
A quick test can be beneficial. Look at your hand’s shadow while standing in the desired location for your plant on a sunny day. There is little light in the area if you can make out a faint, fuzzy shape. If there are no shadows at all, the space is most likely too dark for any kind of plant, and you will require artificial lighting. The area probably provides adequate light for a tolerant plant if you can read a book comfortably during the day without using a lamp.
The first major step toward development is realising this difference. Instead of straining plants to thrive in an inappropriate location, you can choose plants that complement your environment once you realise how much light you actually have.
Select Naturally Tolerant Plants
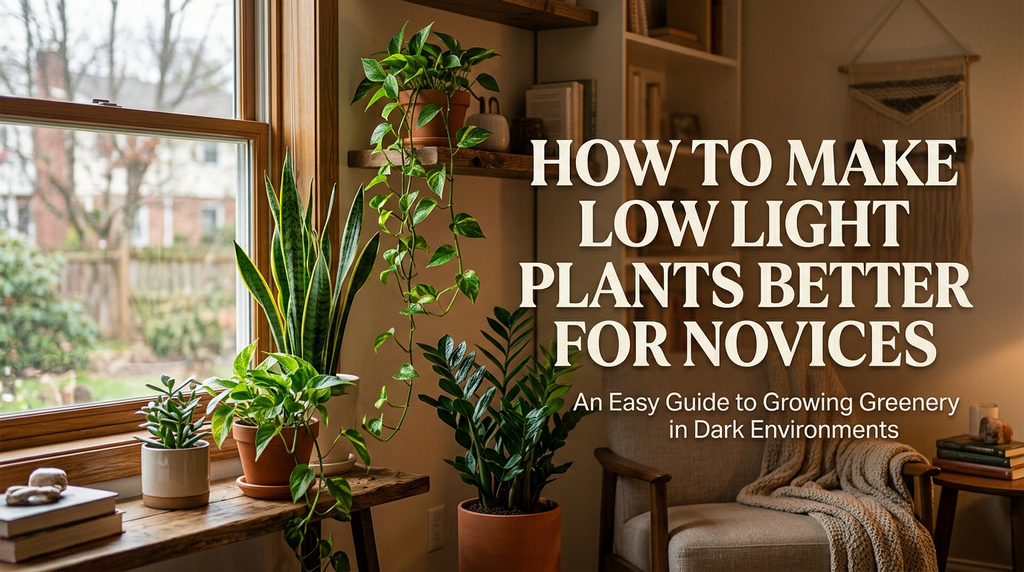
Starting with plants designed for shade is the simplest method to improve your outcomes. With its towering, sword-shaped leaves and capacity to withstand extended periods of neglect, snake plants are the traditional choice for beginners. Another winner is the ZZ plant, which stores water in thick subterranean stems to withstand low light and neglected waterings. Pothos is a quick-growing vine that thrives in shaded areas and leaves lovely trails from shelves and hanging baskets.
In addition to producing delicate white blossoms, peace lilies make it obvious when they need water by drooping drastically and quickly perking up after a drink. The cast iron plant gets its name from its ability to withstand disorder, irregular watering, and inadequate light. The spider plant yields bright arching foliage and tiny baby plantlets, while the Chinese evergreen delivers patterned leaves in silver, green, and occasionally pink. Another simple trailing alternative that adds a carefree, lush vibe to any space is philodendron heartleaf.
It is helpful to keep in mind that tolerance does not equate to optimal success. It is rather usual for most of these plants to develop slowly in low light. Because the pale spots have less chlorophyll than the solid green ones, variegated varieties, which have white or yellow patterns on their leaves, typically require a little more light. Select rich green plants and take pleasure in their gradual, peaceful growth if your space is quite dark.
Plants should be positioned to maximise light.
Everything may be altered by placement. Small positional changes matter, even in a dimly lit space. When a plant is positioned two feet from a window, it receives far more useful light than when it is positioned on the opposite wall. Moving a plant closer to the window is frequently the simplest adjustment you can make because light decreases quickly with distance.
Try putting plants close to the room’s brightest area on a table, shelf, or plant stand. Don’t place them in locations where light never reaches, behind big furniture, or behind heavy drapes. A white or cream wall next to your plant can subtly increase its light supply because light-colored walls reflect light back into the space while dark walls absorb it. You can also direct additional light toward your plants by placing a mirror across from a window.
Don’t forget to give your plants a quarter turn every two or three weeks. Rotating plants, which tilt toward the light, maintains even growth and avoids an uneven shape. Keep your windows clean as well. An unexpected amount of light can be blocked by a layer of dust or filth on the glass, so cleaning it once a month or so benefits your plants more than you may think.
When Natural Light Is Insufficient, Use Artificial Light
A grow light can be a great solution if your room is really dark, and it’s easier than it seems. These days, LED grow bulbs require extremely little electricity and fit into regular lamps. Seek out full spectrum bulbs, which offer a variety of light hues akin to those found in daylight. For a small collection, a single bulb above a plant is frequently sufficient.
Set the lamp twelve to twenty-four inches above the foliage and leave it on for eight to twelve hours every day. You won’t ever need to remember to turn it on or off if you plug it into a basic outlet timer. Just like us, plants require a nighttime break, so don’t leave the light on all day and nite.
Grow lights are particularly useful in the winter when there is little to no natural illumination. Many novices see that after a month under a tiny lamp, a plant that appeared dejected throughout the winter suddenly produces new leaves. It is one of the best improvements you can make, as it allows plants to occupy areas that they would not otherwise be able to.
Use Less Water Than You Believe You Should
Most novices struggle when it comes to watering, and this is especially true in low light. The soil remains moist for a considerably longer period of time when plants develop and utilise water slowly in dimly lit areas. The roots may sit in damp soil and start to rot if you water on the same schedule as a plant in a bright window. The biggest threat to low-light plants is root rot.
Prior to each watering, inspect the soil rather than according to a schedule. Insert your finger into the ground about two inches deep. Wait if it seems wet. In order to prevent the pot from sitting in water, empty the saucer after fully watering it until the excess drains out of the drainage holes if it seems dry. Allow the soil to dry nearly entirely for snake plants and ZZ plants, which may require watering in a dark area only every three or four weeks.
Recognise the warning indicators. Too much water is indicated by yellowing leaves, a mushy or squishy stem, and a musty smell coming from the soil. A plant that feels light in its planter and has crispy brown edges may have been overly dry. If you’re not sure, you can check farther into the pot with a basic moisture meter or a lightweight wooden skewer. When in doubt, give it another day or two. Compared to a flooded root system, most low-light plants are far more tolerant to a little thirst.
Create Healthy Soil and Select the Appropriate Pot
The oxygen that roots require is provided by healthy soil, which is crucial when plants gradually dry out. Add perlite, coarse sand, or tiny bits of bark to a high-quality indoor potting mix to increase drainage. For many plants, a mixture of around two parts potting soil to one part perlite works well. A cactus-style mix is a wonderful option for ZZ plants and snake plants.
Select pots with drainage holes at all times. Keep your plant in a basic plastic nursery pot and slide it inside, lifting it out to water and drain, if you enjoy ornamental pots without holes. A extremely large container contains extra wet soil that the plant cannot use, so pick a pot that is only marginally bigger than the root ball. In dimly lit spaces where soil dries slowly, terracotta pots help by allowing moisture to evaporate through their walls. Terracotta might be a useful safety net if you have a tendency to overwater.
Feed sparingly and only when the plants are expanding.
Plants under low light have little hunger. They require significantly less fertiliser than sun-loving plants because of their slow growth. Overuse of fertiliser can result in weak, lanky growth, burnt leaf tips, and salt accumulation. Many novices believe that eating more food will compensate for the lack of light, but food cannot take the place of light, which is the true limiting factor.
Use a balanced liquid fertiliser for houseplants that has been diluted to half the recommended strength on the label. In the spring and summer, feed once every six to eight weeks; in the autumn and winter, when development slows down even more, do not feed. In order to prevent concentrated nutrients from shocking the roots, always water the plant first. To remove the salts, flush the pot with plain water and allow it to drain well if you notice a white crust on the soil’s surface.
Maintain Clean Leaves and Regular Grooming
Every bit of light matters in a dark area, and dusty leaves block a significant portion of it. Every few weeks, use a gentle, moist cloth to clean your plants’ leaves. This little practice keeps leaves shiny, increases light absorption, and helps you identify pests early. Smaller plants can be carefully cleaned with lukewarm water in a washbasin or shower.
It’s easy to groom. Using clean scissors, clip off any yellow or brown leaves around the base of the stem. To promote a fuller appearance, pinch back long vines like pothos right above a leaf node. To make new plants, the cuttings can be put in a glass of water and planted after roots start to grow. A plant can regain its shape by being gently trimmed and then moved to a brighter area if it has grown tall and thin due to its need for light.
Repot Only When Required
Repotting is not necessary for slow growers. For two or three years, the majority of low light plants are content to remain in the same container. Roots emerging from drainage holes, soil drying out considerably more quickly than before, or a plant that appears little and top-heavy are all indications that it could be time. Since the plant is about to enter its stronger growing season, spring is the ideal time to repot.
Repotting entails moving the plant to a pot that is only one size larger, carefully loosening the roots, removing any dark or mushy ones, and adding new, airy soil. After that, give the plant a little water and keep it out of the sun for a week or so to allow it to settle. Refrain from jumping to a large pot since more soil implies more moisture and a greater risk of rot.
Keep an eye out for common issues and pests.
Even while low light plants are usually hardy, they can nevertheless draw pests like spider mites, mealybugs, and fungus gnats. The presence of fungus gnats, which are tiny insects that prefer moist soil, is frequently an indication that the soil is remaining wet for an extended period of time. The issue is typically resolved by utilising yellow sticky traps and allowing the top layer of soil to dry out in between waterings. A cotton swab bathed in a small amount of rubbing alcohol can be used to remove mealybugs, which resemble tiny particles of white cotton.
Your plant is most likely requesting more light if you see pale leaves, stunted development, or stems with wide spaces between leaves. Consider adding a grow light or putting it nearer to a window. Check your watering practices first if lower leaves continue to turn yellow and fall off. Any new plant should be quarantined for two weeks before being placed close to the others. To further minimise issues, a simple fan or an occasional open window will provide adequate air circulation.
Adapt Your Care to the Changing Seasons
The seasons affect how much light your plants receive, even indoors. A location that was fine in the summer may become excessively gloomy in the winter due to the lower sun and shorter days. Because development slows to a crawl during these months, move plants closer to windows and water them even less frequently. Plants may take a brief summer vacation to a brighter spot, but stay away from abrupt changes and never expose them to intense direct sunlight as this might burn their leaves.
Plants should be kept away from heating vents and cold drafts. The average room temperature for most low light favourites is between 18 and 27 degrees Celsius, or around 65 and 80 degrees Fahrenheit. Dramatic fluctuations are more worse than steady situations.
Concluding Remarks
Understanding low light plants’ quiet character is crucial to improving them. They don’t have many requests, but they do value careful attention. Select shade-tolerant kinds, put them as close to the light as you can, add a grow light when necessary, water them sparingly and only when the soil requests it, and feed them with a light hand. Clean their leaves, gently trim them, and keep an eye out for little clues that indicate what they require.
It’s okay if growth is slower than what you see on social media. Just as much happiness can be found in a sun-drenched jungle as in a quiet, stable plant in a dark nook. Enjoy each fresh leaf, be patient, and remain watchful. Even the darkest area of your house can become a tranquil green haven with these easy behaviours.