Related Articles
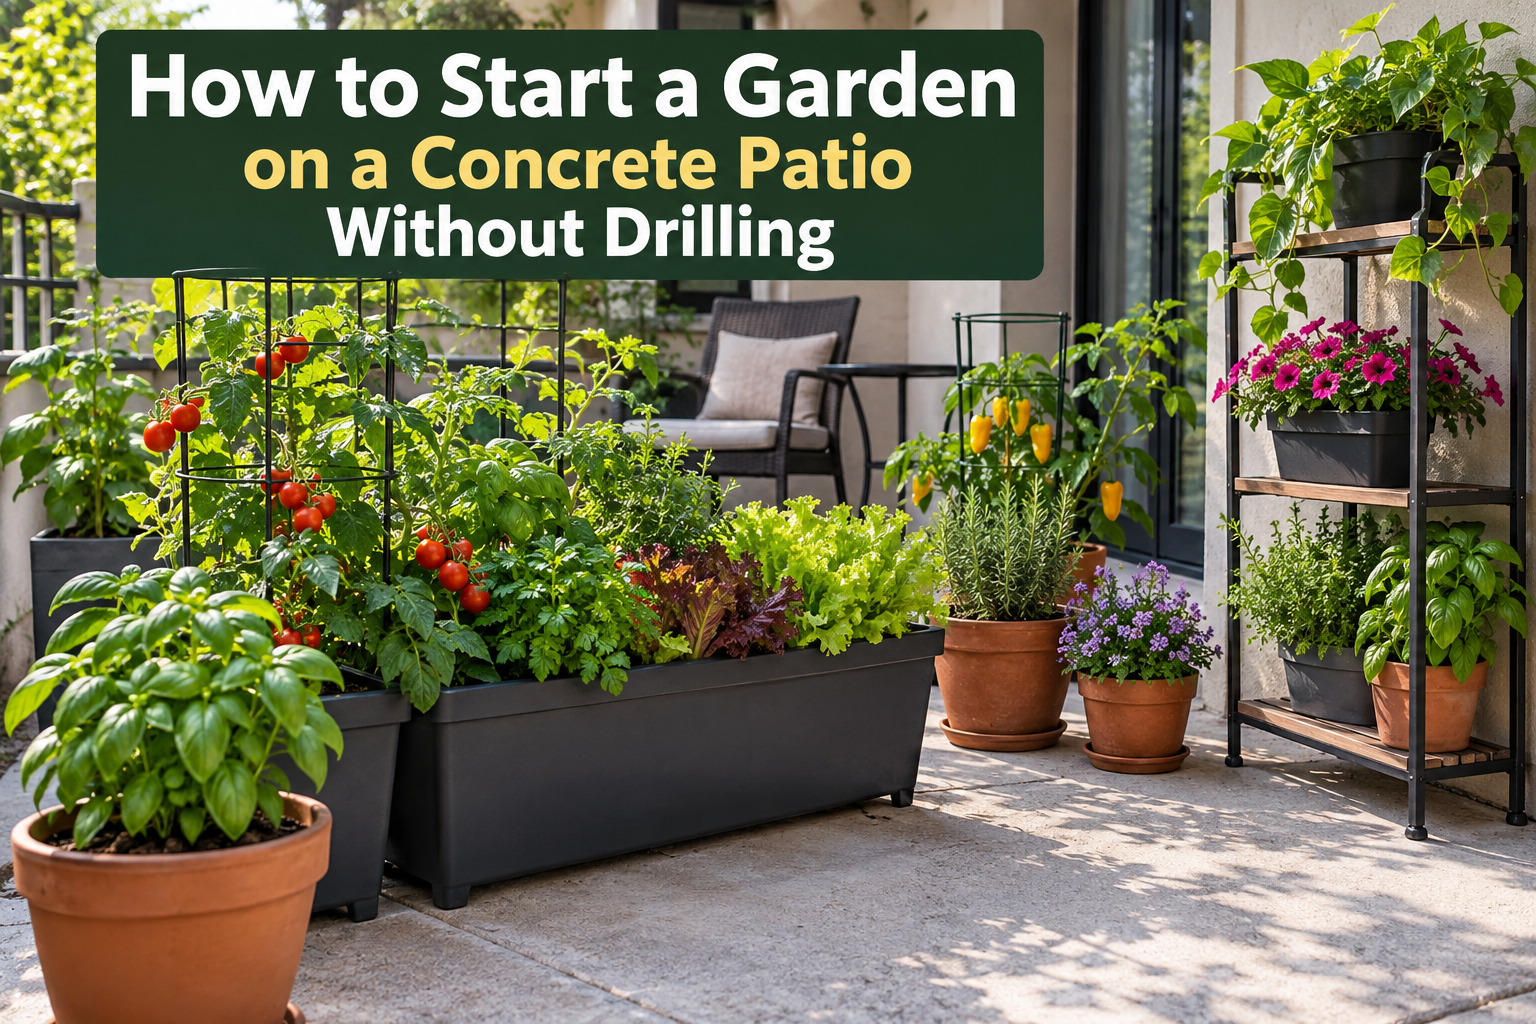
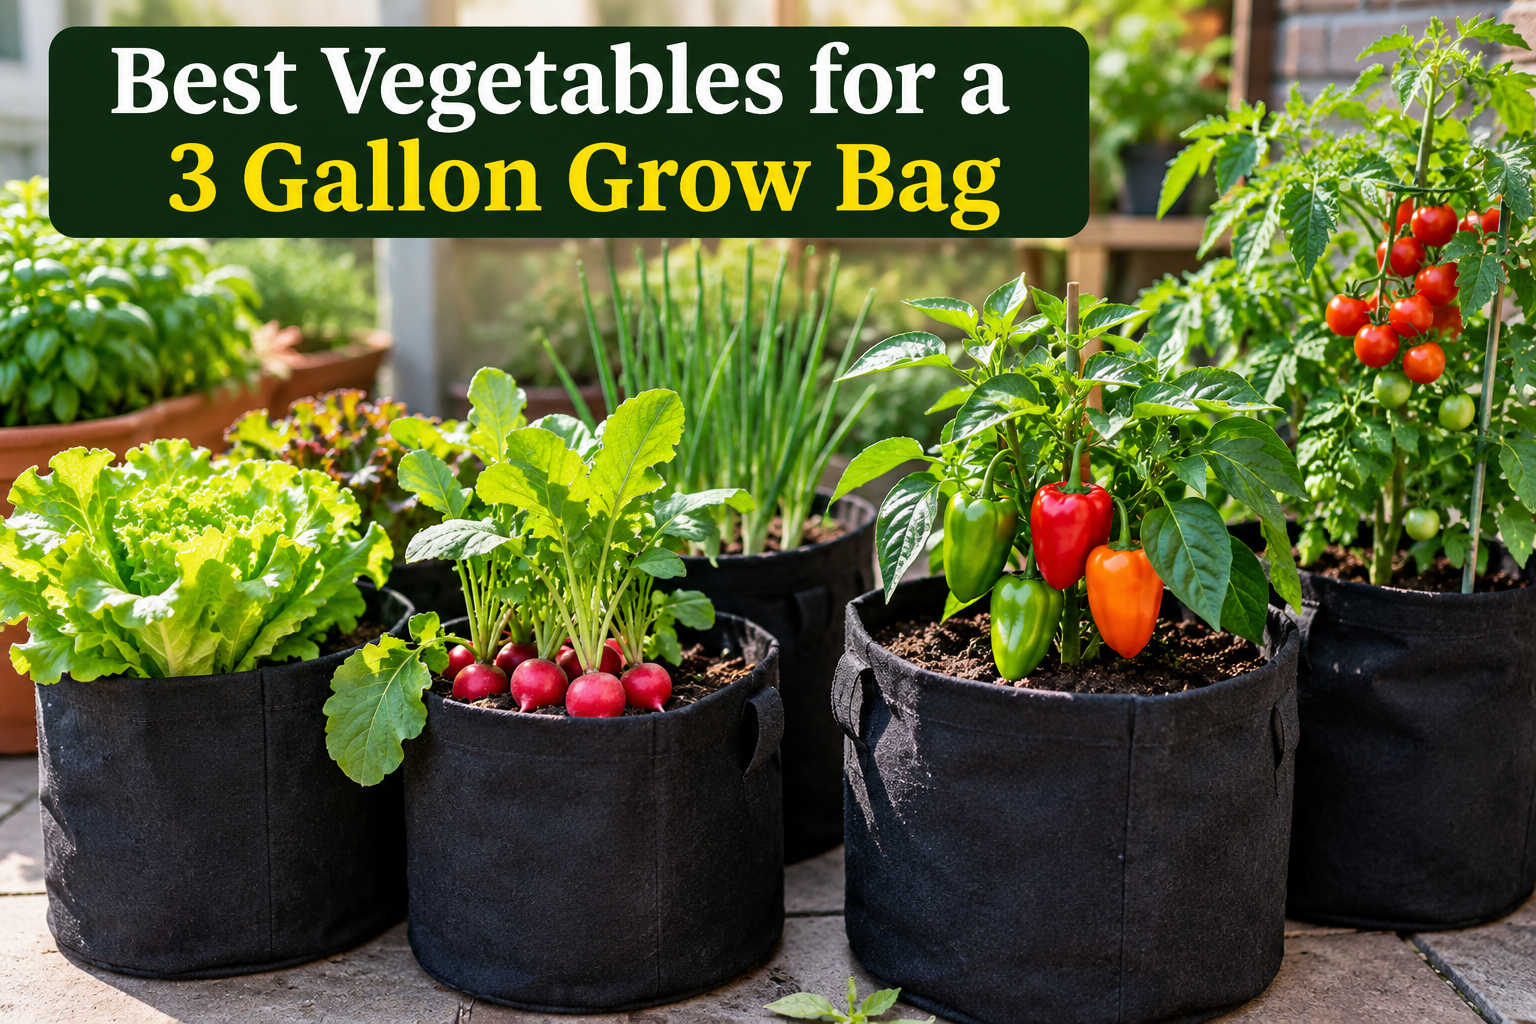
Container gardening is a great way to grow plants, flowers, vegetables and herbs even if you don’t have a lot of outdoor space. Whether you have a small balcony, live in an apartment or want to add some greenery to your patio, container gardening can help you create a beautiful and peaceful space. However, novices can have issues like yellow leaves, slow plant growth, dry soil or plants wilting unexpectedly. Fortunately most of these problems are easy to fix with a little bit of thought and care.
If you’re wondering how to fix a container garden for beginners, this tutorial will help you spot common gardening problems and find simple ways to keep your plants thriving. With the right containers, soil, watering schedule and sunlight, you don’t need to be an expert gardener to have a flourishing garden.
- Recognise the Problem of Your Container Garden
Give your plants a little time before making any changes. Look close at the soil, the leaves, the stems and the overall growth. From these details you can see what your plants need.
Yellow leaves might be a symptom of underfeeding, overwatering or underwatering. Too much moisture can also cause wilting, but wilted leaves might indicate the plant needs water. Poor growth may be due to lack of sunlight, tight soil, or an undersized container.
Don’t do all the changs at once First, check the drainage, lighting and soil moisture. Try one change at a time to find out what is best for your plants.
- Select the Correct Container
The container is important to the health of the plant. A large container can hold more moisture than a young plant needs, and a pot that is too small can stunt root growth.
Choose a container that will give the roots of the plant enough room to grow comfortably. Tomatoes and other large vegetables need larger containers, but small herbs can thrive in smaller pots.
Drainage holes are especially important. Poor drainage can result in a buildup of excess water around the roots and cause root rot . If your pot of choice has no drainage holes, you might want to use it as a decorative outer container, and grow a plant in a suitable pot inside.
You should also consider the content. Terracotta pots are more breathable and dry out faster than plastic containers which are lighter and hold moisture longer.
- Improve the Quality of Soil
A healthy soil is the base of a flourishing container garden. Regular garden soil is often too heavy for containers, and it can clump and restrict air flow to the roots.
Use a good quality potting mix made for container plants instead. These blends tend to give a good balance of aeration, drainage and moisture retention.
If your soil is hard, smells bad, or stays wet for a few days, check the drainage and root condition. If required, carefully lift the plant out and replace any damaged or unsuitable growing medium with fresh potting mix.
And don’t use too much gravel as a drainage solution on the bottom of a pot. It can leave more water in the soil above it, and does not consistently improve drainage. Open drainage holes and an appropriate potting mix work much better.
- Solve Your Watering Problems
Watering is one of the most common problems for beginners. If a plant doesn’t get enough water, it will dry out. If it gets too much water, the roots can drown.
- Water when the top inch of the soil feels dry. This is a good starting point for many typical container plants, but some like a drier spell between waterings and others like their soil to be consistently moist.
Water should be applied slowly until some begins to flow out of the drainage holes. Remove excess water from the saucer to prevent the roots from staying underwater.
Warm weather can dry containers out quickly, especially on sunny balconies. Instead of keeping them on a strict watering schedule daily check them often. Modify your routine to the condition of the soil, size of container, temperature and type of plant.
- Provide Adequate Light
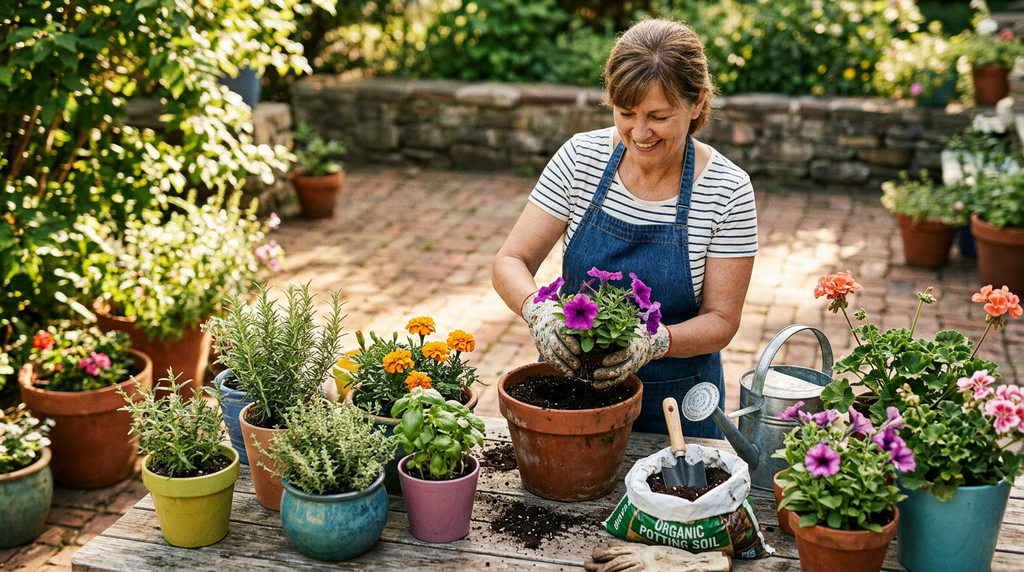
Plants require the right amount of sunshine for healthy growth. Some vegetables and flowering plants need several hours of full sun, while shade-loving plants prefer indirect light or partial shade.
If your plants are puny or pale, or especially tall and leggy with long, thin stems, they probably aren’t getting enough light. Try to slowly move the container in a lighter area.
In contrast, dry crispy edges and burnt leaves could be an indicator of extreme heat or sun exposure. If needed, move sensitive plants to an area with afternoon shade.
Before you pick a spot, figure out how much sun each plant needs. Knowing what these requirements are will make keeping a healthy container garden a lot easier.
- Properly feed your plants
The uptake of nutrients by containerised plants is limited. Many plants will need to be fed regularly, as watering can leach some of the nutrients from the potting mix slowly.
Use a balanced fertiliser suited to the type of plant you have and follow the directions on the label. Some plants require less fertiliser, while others respond to regular feedings during periods of vigorous growth.
Don’t over-fertilise plants in an attempt to speed up their growth. Too many nutrients can burn the roots, burn the tips of leaves and interfere with normal growth.
If your plant has been struggling check the lighting, drainage and watering of your plant. Not all gardening problems can be solved by fertiliser, and applying fertiliser to a plant already stressed may make it worse.
- Check for disease and pests
Look for small insects, damaged leaves, sticky residue or strange patches, which could be a sign of pest or disease problems. Spider mites, whiteflies and aphids are common container garden pests.
Check the undersides of leaves and new growth as this is where pests tend to congregate. If you see some infection, try a gentle rinse of water for the plant. Or if necessary remove the badly affected leaves.
If the problem persists, try a product labelled for the specific insect and plant, and follow all safety precautions. Avoid spraying chemicals in direct sunlight and protect beneficial insects as much as possible.
Plant infections can also be avoided by watering properly, using clean containers and having good air circulation.
- Create a Simple Garden Maintenance Schedule
Making a schedule you can work with is the best way to avoid problems in the future. It doesn’t have to take hours of your day.
Water your plants, watch for pests, remove dead leaves, and feel the soil before watering. Check your plants several times a week. If the plants are not getting equal light rotate the containers now and then and prune the plants as needed.
Keep a small gardening journal to note changes in feeding and watering and plant growth. These simple notes can help you recognise patterns and hone your gardening skills over time.
- Conclusions
For beginners, learning the basic needs of your plants will make it much easier to learn how to maintain a container garden. First, check the drainage, soil condition, watering habits, sunshine and nutrient levels. Don’t try and fix multiple things at once, check for pests when needed, and tweak things.
Don’t forget, every plant is unique and sometimes gardening can be a challenge. With some perseverance, regular observation, and a few easy tweaks, you can turn failing containers into a beautiful and thriving garden. Enjoy your container garden as it blooms . Learn from your mistakes and start with a few easy to grow plants .